 | |
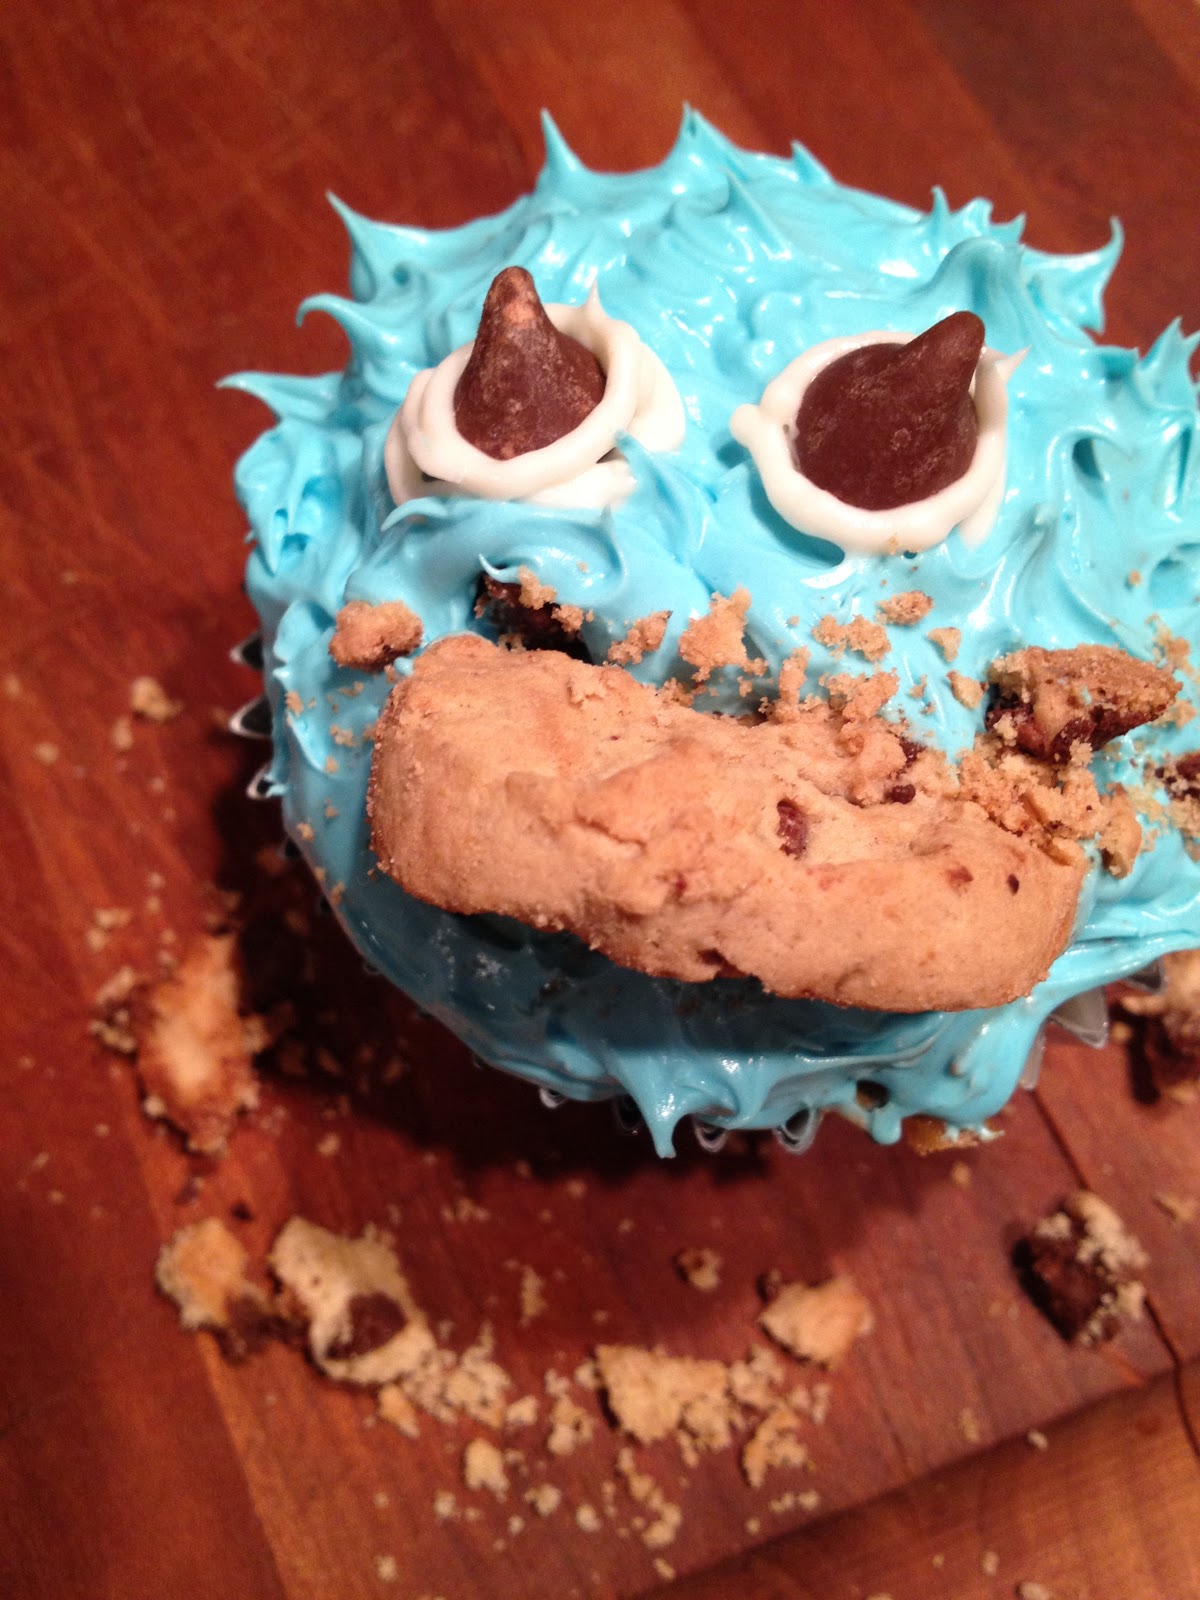
| an awesome close up, courtesy of Rachel |

To make life a little bit easier, we went with simple ingredients: a box of white cake mix, a tub of cream cheese frosting, semi-sweet chocolate chips, a variety pack of food coloring, and foil cupcake liners.
First, we prepared the cake mix according to the instructions on the box. Then, we added about three drops of blue food coloring until we found the right shade of blue we wanted for the inside of the cakes.
 While Rachel and I worked on the batter, Jacob greased the pan and put in the liners. After having him grease and put
in the liners, he asked why we did both. At first, I didn't realize
that I asked him to do both. However, I am glad we did it this way
because the cakes that came over the top of the liners didn't stick to
the pan, making for easier clean up. Brilliant!
While Rachel and I worked on the batter, Jacob greased the pan and put in the liners. After having him grease and put
in the liners, he asked why we did both. At first, I didn't realize
that I asked him to do both. However, I am glad we did it this way
because the cakes that came over the top of the liners didn't stick to
the pan, making for easier clean up. Brilliant! Next, I filled each liner with a (soup) spoon full of batter and had the kids plop about five chocolate chips into each one. We waited to add the chips until after we divided up the batter for two reasons:
- Since we were winging this recipe, we weren't sure how many chips to add;
- Adding heavy ingredients to batter before separating it out makes the portions uneven because all of the heavy stuff will fall to the bottom of the batter bowl. (This is also true with chocolate chip pancakes!)
If you are going to frost any sort of baked goods, you should ALWAYS let them cool completely before attempting to decorate. The residual heat will warm the frosting and make it much more difficult.
 |
| Jacob icing a few cakes. |
So, while we were waiting (semi-patiently), we tackled the frosting. We saved about half a cup of white frosting for the eyes, and colored the rest blue. Once we reached the desired shade of blue, we put a small frosting tip into one of the bottom corners of a large ziploc bag, making sure it was snug. Then, we filled the bag with the desired color of frosting, made sure that the bag was zipped closed, and pushed all of the frosting toward the corner with the tip. It is important to wait to snip the corner because the frosting will squirt out everywhere when you are moving it to the corner.
Once the cakes were cool, we started applying a thin layer of blue icing over the tops of the cakes. Then, we used other icing tips and toothpicks to create the "hair."
 |
| Rachel working on the "mouths" |
 |
| Our awesome taste tester, Reagan! |
Viola! Cookie Monster cupcakes!
No comments:
Post a Comment